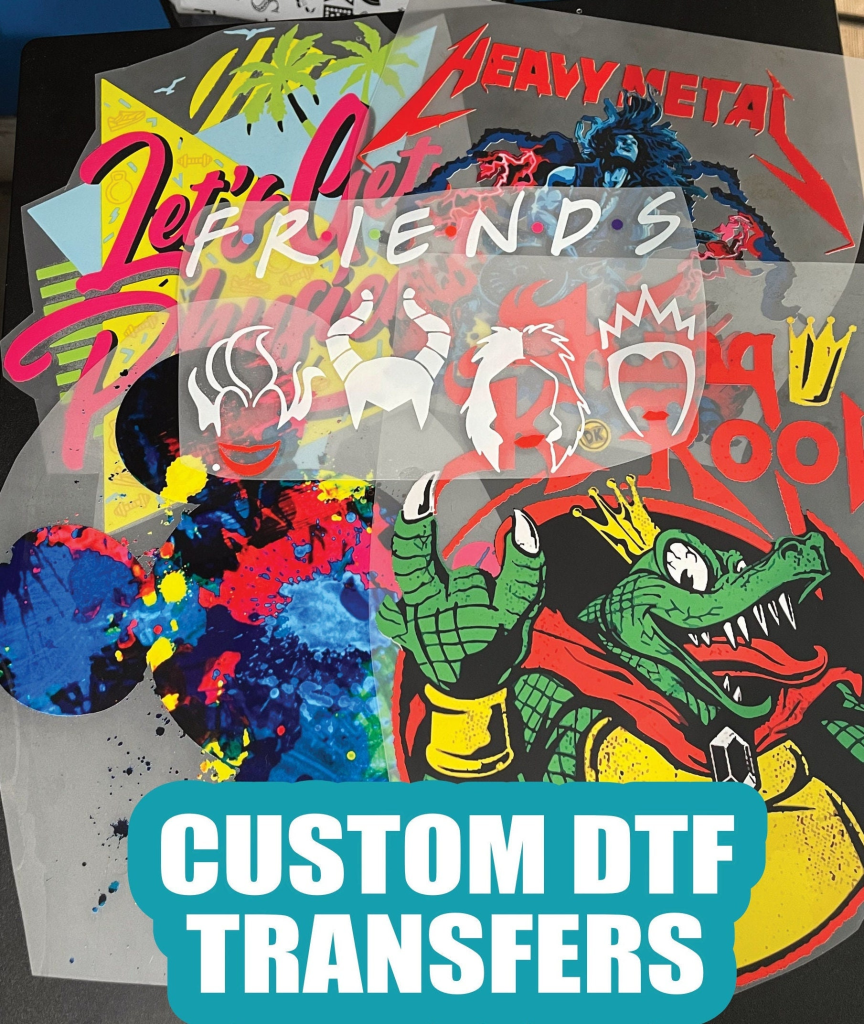
DTF transfers, or Direct-to-Film transfers, are at the forefront of custom garment decoration, offering vibrant and intricate designs that can be easily applied to a variety of fabric types. This innovative printing technique is revolutionizing how we think about fabric decoration, making high-quality customization accessible to everyone. In this digital age, learning about DTF printing techniques is essential for anyone passionate about DIY projects or looking to enhance their apparel line. Whether you’re curious about the right DTF printing materials or eager to learn how to print DTF designs, our comprehensive guide will equip you with the necessary skills. Join us as we break down the step-by-step process of creating stunning DTF transfers from scratch.
Also known as Direct-to-Film printing, the method of creating custom fabric transfers has gained significant popularity in recent years. This cutting-edge approach allows individuals and small businesses to design eye-catching graphics that can seamlessly adhere to various textiles. If you’re interested in the art of DIY transfer printing or want to know about the best practices for producing high-quality designs, there’s a wealth of information available. From selecting the right film and adhesive to mastering effective printing techniques, this guide will enhance your understanding and capabilities in fabric decoration. Discover how to explore the possibilities of custom apparel with this modern and exciting printing method.
Understanding DTF Printing Techniques
DTF printing techniques are at the forefront of custom printing technology, enabling creators to execute high-quality designs efficiently. This method stands out for its compatibility with a range of fabrics, making it an ideal choice for fashion brands, artists, and hobbyists alike. Unlike traditional screen printing methods, DTF printing utilizes specialized film and inks that deliver vivid colors and detailed graphics. The uniqueness of DTF lies in its ability to transfer intricate designs onto both light and dark materials without requiring multiple passes or adjustments.
Moreover, DTF printing techniques encompass several steps that simplify the transfer process. From preparing designs in graphic software to adjusting printer settings for optimal ink saturation, each phase is crucial to achieving outstanding results. Understanding the nuances of this technique not only enhances the quality of your final product but also empowers you to explore creative possibilities that traditional methods might limit.
Essential Materials for DIY DTF Transfers
Creating effective DIY DTF transfers begins with gathering essential materials that directly influence the quality of your prints. The most critical tool in your arsenal is a DTF printer, which is designed to handle DTF inks and deliver sharp, vibrant images onto film. Only specific inkjet printers are suitable for DTF printing, so it’s imperative to choose one that maintains a wide color range and reliable performance. Alongside the printer, procuring high-quality DTF film is vital, as it acts as a canvas for your design and is engineered to work harmoniously with the inks.
Additionally, you’ll need adhesive powder and a heat press machine as fundamental elements in the transfer process. Adhesive powder enhances the permanence of the design on the fabric, ensuring a lasting bond once heat is applied. The heat press machine guarantees that your design adheres correctly to the garment, applying the necessary heat and pressure for a successful transfer. The selection of materials plays a significant role in the final outcome, ensuring your DTF transfers are not only stunning but also durable and capable of withstanding regular wear.
Step-by-Step Guide: How to Print DTF Designs
Learning how to print DTF designs involves a series of methodical steps that ensure successful outcomes. Begin with graphic design software, such as Adobe Illustrator, where you can create and manipulate your design efficiently. It’s essential to work in CMYK color mode, which is ideal for printing, as it provides more accurate color representations in your final product. Once your design is crafted, ensure it meets the required dimensions and is saved in a suitable format like PNG or TIFF, ready for printing.
Once you have your designs prepared, the next phase is to load the DTF film into your printer, adjusting the printer’s settings according to the material being used. Precise calibration is crucial for achieving the desired color depth and clarity. Allow the printed film to dry adequately before proceeding to the application of adhesive powder; this step is essential to preventing smudges and ensuring a smooth final transfer. By meticulously following this step-by-step process, you can master the art of printing DTF designs that reflect your creative vision.
Creating DTF Films for High-Quality Transfers
Creating DTF films is a pivotal step in producing high-quality transfers that stand out. The process begins with printing your digital designs onto specialized DTF film using a DTF printer, designed specifically for this application. The film itself is engineered to absorb and hold the DTF inks effectively, ensuring that your designs maintain vibrancy and detail after application. Additionally, selecting the right DTF film is essential; opt for brands known for their superior quality to achieve the best results.
After printing, the next critical step is applying adhesive powder to the wet design—a process that helps bond the ink to the fabric during the heat transfer application. The curing of the design is equally important, often performed in a preheated oven to set the adhesive properly before heat pressing onto your chosen fabric. By mastering the creation of DTF films through these recommended practices, you elevate the quality of your transfers, ensuring they not only look stunning but also last longer over time.
Expert Tips for Successful DTF Transfer Projects
For anyone venturing into the realm of DTF transfers, certain expert tips can lead to more successful and visually impressive designs. First and foremost, conducting test prints on various fabric types is crucial. Different materials interact uniquely with DTF transfers, impacting the final result, so understanding which combinations yield the best results is vital. This experimental phase allows you to fine-tune your approach, ensuring improved quality in future projects.
Another key tip involves the maintenance of your DTF printer; regular cleaning is essential to prevent ink clogs and ensure optimal performance. Schedule routine checks and cleaning sessions to extend the lifespan of your printer and maintain print quality. Moreover, don’t hesitate to experiment with different design effects and techniques to develop your unique style within the DTF printing space. Embracing creativity and diligence in your projects will ultimately lead to stunning results that capture attention and exude professionalism.
The Future of DTF Transfers in Custom Apparel
The future of DTF transfers in custom apparel is bright, with this innovative printing method opening up new avenues for designers and businesses. As more creators adopt DTF printing, advancements in technology are expected to enhance print quality and efficiency further. Innovations may lead to more eco-friendly printing materials and methods, making DTF transfers an even more sustainable option for apparel decoration.
Additionally, as the demand for personalized and custom apparel continues to rise, DTF transfers are becoming a go-to solution for small businesses and independent artists. The ability to produce high-quality, vibrant designs quickly and efficiently sets DTF apart from other printing methods. This flexibility not only caters to individual creativity but also allows businesses to respond rapidly to market trends, making DTF transfers a valuable tool in the rapidly evolving fashion industry.
Frequently Asked Questions
What are DTF transfers and how do they work?
DTF transfers, or Direct-to-Film transfers, are a printing technique that involves printing designs onto specialized films before transferring them onto fabric. This method uses a DTF printer, DTF inks, and adhesive powder to ensure vibrant, high-quality designs that adhere well to various materials.
What materials do I need for DIY DTF transfers?
To create DIY DTF transfers, you’ll need essential materials such as a DTF printer, DTF film, hot-melt adhesive powder, and a heat press machine. These items work together to produce stunning, long-lasting transfers for custom garments.
How can I print DTF designs effectively?
To print DTF designs effectively, you should use a printer that supports DTF inks, ensure your design is in CMYK color mode and high resolution (300 DPI), and adjust your printer settings for ink saturation. Proper preparation leads to better print quality.
What are the best DTF printing techniques for beginners?
Beginners can start with straightforward DTF printing techniques such as ensuring their designs are sized correctly, using the right materials, and performing test prints on different fabrics. Familiarizing yourself with the printing and transfer process helps achieve stunning results.
What is involved in creating DTF films for printing?
Creating DTF films for printing involves designing your artwork on graphic design software, printing the design onto the DTF film with the correct printer settings, and then applying hot-melt adhesive powder to ensure the design adheres to the fabric during heat transfer.
Can I use DTF transfers on all types of fabric?
DTF transfers can be applied to various fabric types, including cotton, polyester, and blends. However, it’s crucial to test different fabrics to determine which materials yield the best results for your DTF designs.
| Step | Description |
|---|---|
| Step 1: Gather Necessary Materials | Collect essential materials: DTF printer, DTF film, adhesive powder, and heat press machine. |
| Step 2: Design Creation | Use graphic design software to create vibrant designs; ensure correct size and resolution for best results. |
| Step 3: Printing the Transfer | Load DTF film into printer and print your design, ensuring correct ink settings and letting it dry. |
| Step 4: Applying Adhesive Powder | Sprinkle hot-melt adhesive powder on the wet print to ensure it adheres well to fabric. |
| Step 5: Curing the Transfer | Preheat the oven and cure the adhesive for proper bonding before handling. |
| Step 6: Heat Pressing the Transfer | Place the DTF film on the garment and use a heat press to transfer the design by applying heat and pressure. |
| Additional Tips | Conduct test prints, maintain your printer, and experiment with different designs for optimal results. |
Summary
DTF transfers are an innovative method for creating unique, high-quality designs on clothing. By following the comprehensive steps outlined above, you can master the art of DTF printing, utilizing essential materials like a DTF printer and film while implementing proper techniques for design creation and transfer application. This process not only opens up a world of vibrant color on various fabrics but also allows for personal expression through custom apparel. As you gain experience, remember to test different materials and designs to perfect your DTF transfers and fully unleash your creative potential.